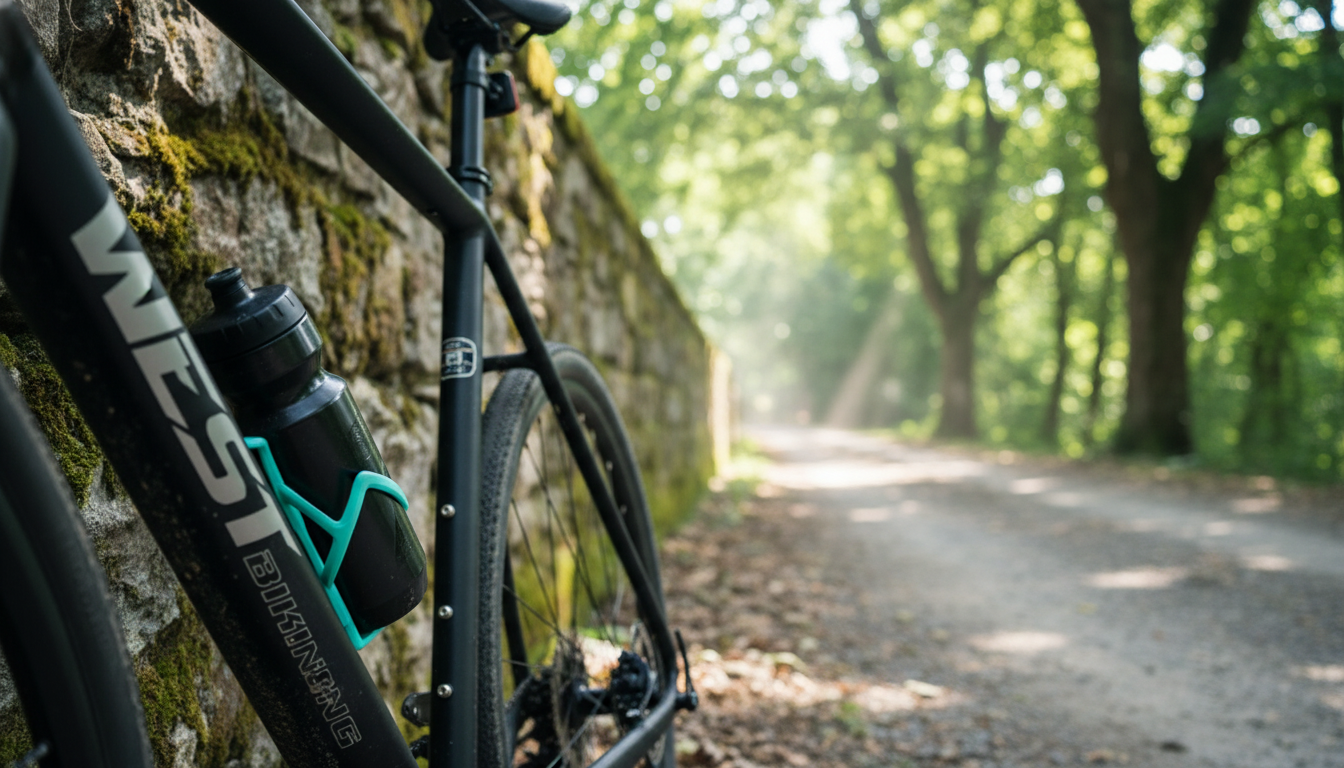
A bottle cage has one job that matters more than anything else: keep your hydration secure when the road gets imperfect. The best cages also make it easy to grab and replace a bottle one-handed, without drama, even when you’re riding in traffic, climbing, or bouncing over rough pavement. The Lightweight Multicolor Bike Bottle Cage Holder leans into that practical balance—dependable retention, quick access, and a bright multicolor finish that adds personality to everyday bikes and custom builds alike. For more guidance, see Packlist – Simply Cycling.
If you’re refreshing a commuter, building up a weekend gravel rig, or just replacing a tired cage that has started launching bottles, a secure cage is one of the smallest upgrades that can noticeably improve ride comfort. For further reading, see Cruiser Candy Rhinestone Bicycle Drink Holder, EBike Cup Holder ….
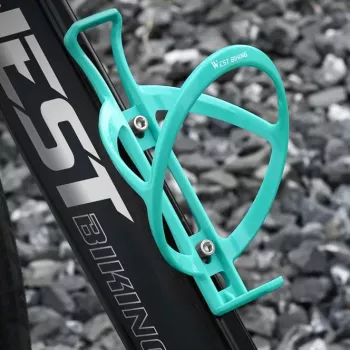
This cage is shaped to guide a bottle into place smoothly and hold it firmly once seated. The arms create a supportive wraparound cradle that helps resist ejection when you roll through cracks, chipseal, curb cuts, or light gravel. That matters because bottle loss isn’t only annoying—it can interrupt hydration timing and create a hazard if the bottle bounces into a rider behind you.
The open geometry is also about access. A cage that’s too tight can make mid-ride removal feel like a wrestling match, especially with cold hands, winter gloves, or fatigue late in the ride. Here, the goal is a secure hold without a death grip, helping the bottle slide in and out with predictable resistance.
And then there’s the look: multicolor accents can help a bike stand out in crowded racks or group rides while complementing colorful tape, saddles, or kit choices. It’s a small detail, but it’s one that makes a utilitarian component feel more like part of a build.
Before ordering any cage, it’s worth doing a quick compatibility check: frame mounts, bottle size, and clearance around the cage location. If your frame has two bottle positions (down tube and seat tube), adding a second cage can be a game-changer for hotter days and longer routes.
| Item to Check | What to Look For | Why It Matters |
|---|---|---|
| Frame mounts | Two threaded inserts (braze-ons) on down tube/seat tube | Ensures the cage can be bolted on securely |
| Bolt size | Commonly M5 bottle cage bolts | Helps avoid stripped threads and poor fit |
| Bottle type | Standard cycling bottle (500–750 ml) or similarly shaped bottle | Determines how easily the bottle slides in/out |
| Clearance | Space between cage and top tube/shock/battery | Prevents bottle interference during insertion |
| Ride conditions | Road, gravel, light trail, commuting | Guides how much retention is needed |
Most modern bikes are built around standard bottle cage mounting points, so fit is usually straightforward. The two common friction points are clearance and bottle diameter.
For a deeper explainer on bottle and cage standards, Sheldon Brown’s reference is a helpful baseline: Sheldon Brown: Water Bottles and Cages.
Ready to upgrade your setup? Check the Lightweight Multicolor Bike Bottle Cage Holder for current pricing and availability.
It’s designed to work best with standard cycling bottles, commonly in the 500–750 ml range. Very large insulated or oversized bottles may fit tightly depending on their diameter and shape, so a quick test fit is recommended.
Start both bolts by hand, tighten evenly so the cage sits flat, and re-check tightness after the first ride. If bolts still loosen over time, a small amount of medium-strength threadlocker can help.
Confirm the bottle matches the cage shape and isn’t oversized, and check that the cage arms aren’t bent inward. If your frame allows it, a slight position adjustment can improve the pull angle and make one-handed removal easier.


Leave a comment